This post is from an article in a column I write at FloorBiz.com. Visit my column here for more interesting articles.
Having seen and heard of mistakes concerning wrapping around walls through multiple doorways with a hardwood floor I decided to write a little about it and post some pictures. Using other flooring materials like tile or patterned carpet can cause hesitation and some hair pulling even for seasoned installers. Some you can fudge and some need to be dead on.
There and a few different types of flooring installations, nail down, glue down, glued floating T&G, and click. Each one has its special tricks and just as many tricks as installers. On this floor we are doing a glued T&G engineered floating hardwood floor, one of the more difficult in my humble opinion.
As in any type of installation like this control lines are often used. Starting off square is most important. If your not square your gaps will continue through the floor and possible even get larger the farther you go and you will end up starting over, a costly mistake. Some installers like using string, lasers or snapping lines on the floor throughout the installation to the end point on the other side of the wall.
Lasers are a welcome addition in your bag of tricks. I use them to start off giving me a quick way to judge how square my starting line is to the wall I am going around. But lasers do not give me that fine line I am looking for so I will use the tape and pencil and straight edge for making my lines.
Just as important as your method is the quality of the milling. Often times milling can be off as much as 1/64 or more on some planks. A cheap poorly milled product is a recipe for disaster. Acclimation of the wood is also a key ingredient of the final product. You simply cannot throw down a wood floor if it has not been properly acclimated like having some wood in the garage and some stored in the house. This all effects the woods dimension.
The start off wall is most important. I tend to choose an outside wall if possible. Using the best and straightest planks is the key here. Start with three or four rows and clamp using ratchet straps. In this case the manufacturer Shaw, says not to use laminate straps which may cause damage to the floor because of its unusual T&G milling. Well, in my opinion Shaw is not here and going to be liable for the outcome so I use them only to keep the joints from hydraulics since we are filling the groove half way according to their guidelines. If leaving them overnight or extended times I use unglued long planks in front of the strap clamps. Dry laying the rows before gluing to check for banana boards and gaps is tedious but most important until you hit your mark.
Ten steps to wrapping a wall.
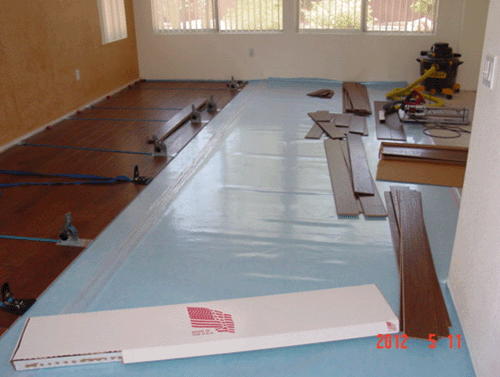
Here in the first imageI am about ten rows out and with the aid of the straps
staying very straight. As you might notice, I have no control lines. At this
point you should be well aware of the quality of the milling your working with, Luckily for me this Shaw product is milled dead on so far and I am mostly concerned with keeping the planks straight and tight.
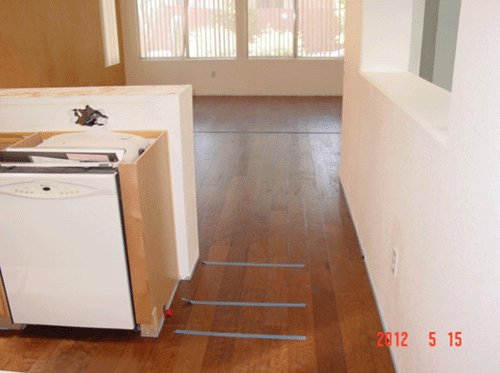
We have hit the wall we will be going around and are perfectly
straight. Tape and properly adjusted spacers are important to keep this floor
from moving.
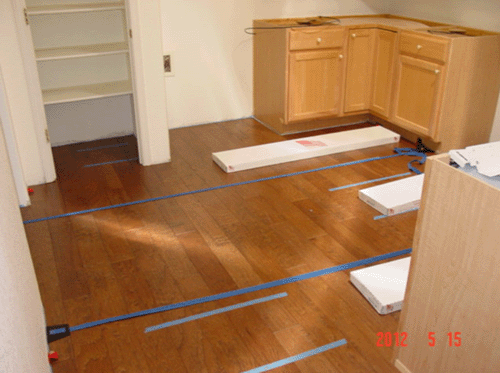
Coming out of the kitchen/living room doorway we stacked up
wood out to the furthest line where we will meet up with the other doorway
coming out of the family room.
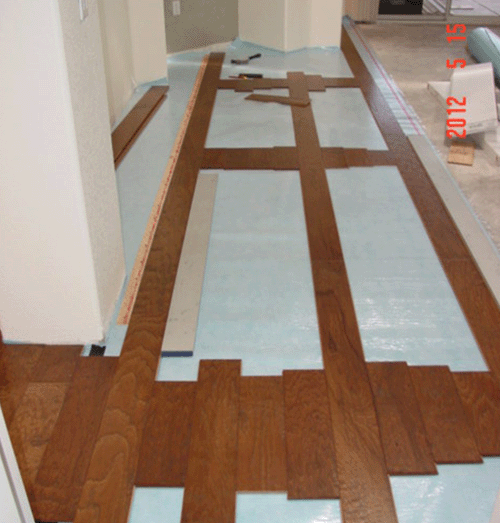
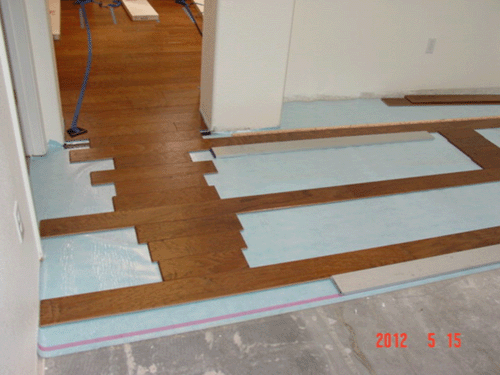
Coming out of the kitchen/living room doorway we stacked up
wood out to the furthest line where we will meet up with the other doorway
coming out of the family room.

Again, the use of the longest planks,
straight edges and tape measure are used to line up the floor. Dimension in
between the long rows are checked for accuracy with more wood stacked up to
insure a straight match-up on the other side. Note the tackstrip used to push up
against when running the first row around the wall. Note, do not forget to patch
the nail holes with water proof tape when you’re done and ready to back fill.
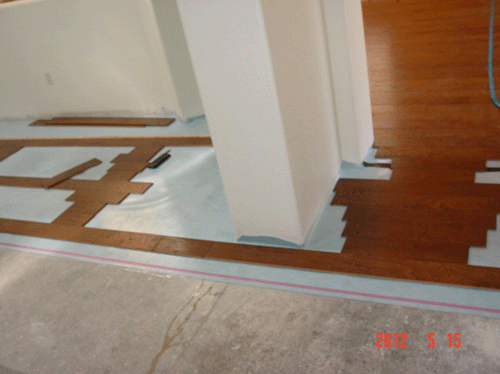
Matched up to the other side.
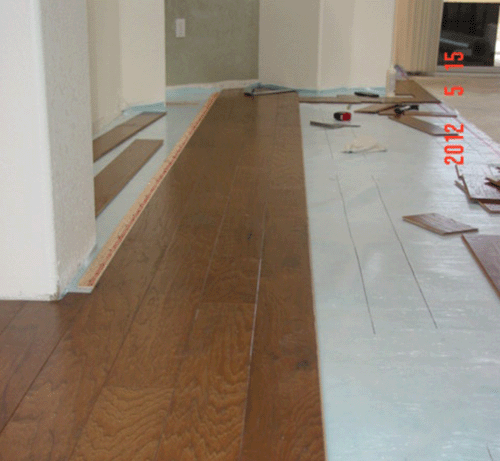
First four rows glued up and checking the
other end with stacked up planks. See control lines on underlayment. Make sure
your underlayment does not move. One trick is to use double faced tape
underneath.
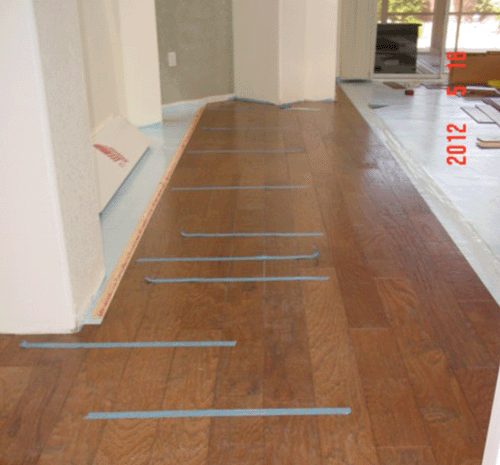
Rows completed to other side, no strapping
needed yet as we are hitting the control lines and everything is fitting tight.
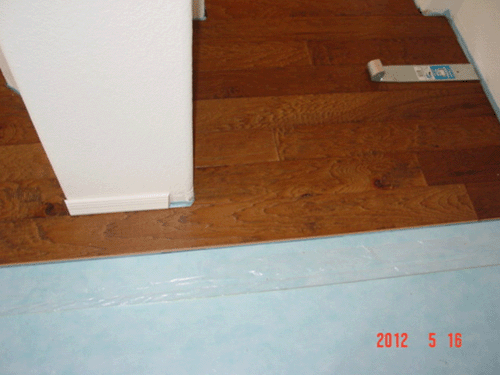
We hit the mark on the other side. No gaps,
nice and straight. Strap it and go to lunch. Mission accomplished.